Adding a second shower head makes for much more pleasant showers with your partner :-) This guide tells you how to do it yourself. It’s cheap, completely reversible, and really easy. You can switch the shower between using 1 shower head for normal showers, and using both for special showers. You can’t cause a flood (unless you do something totally crazy) because all the work is at the shower head so you can always turn off the shower and the water stops!
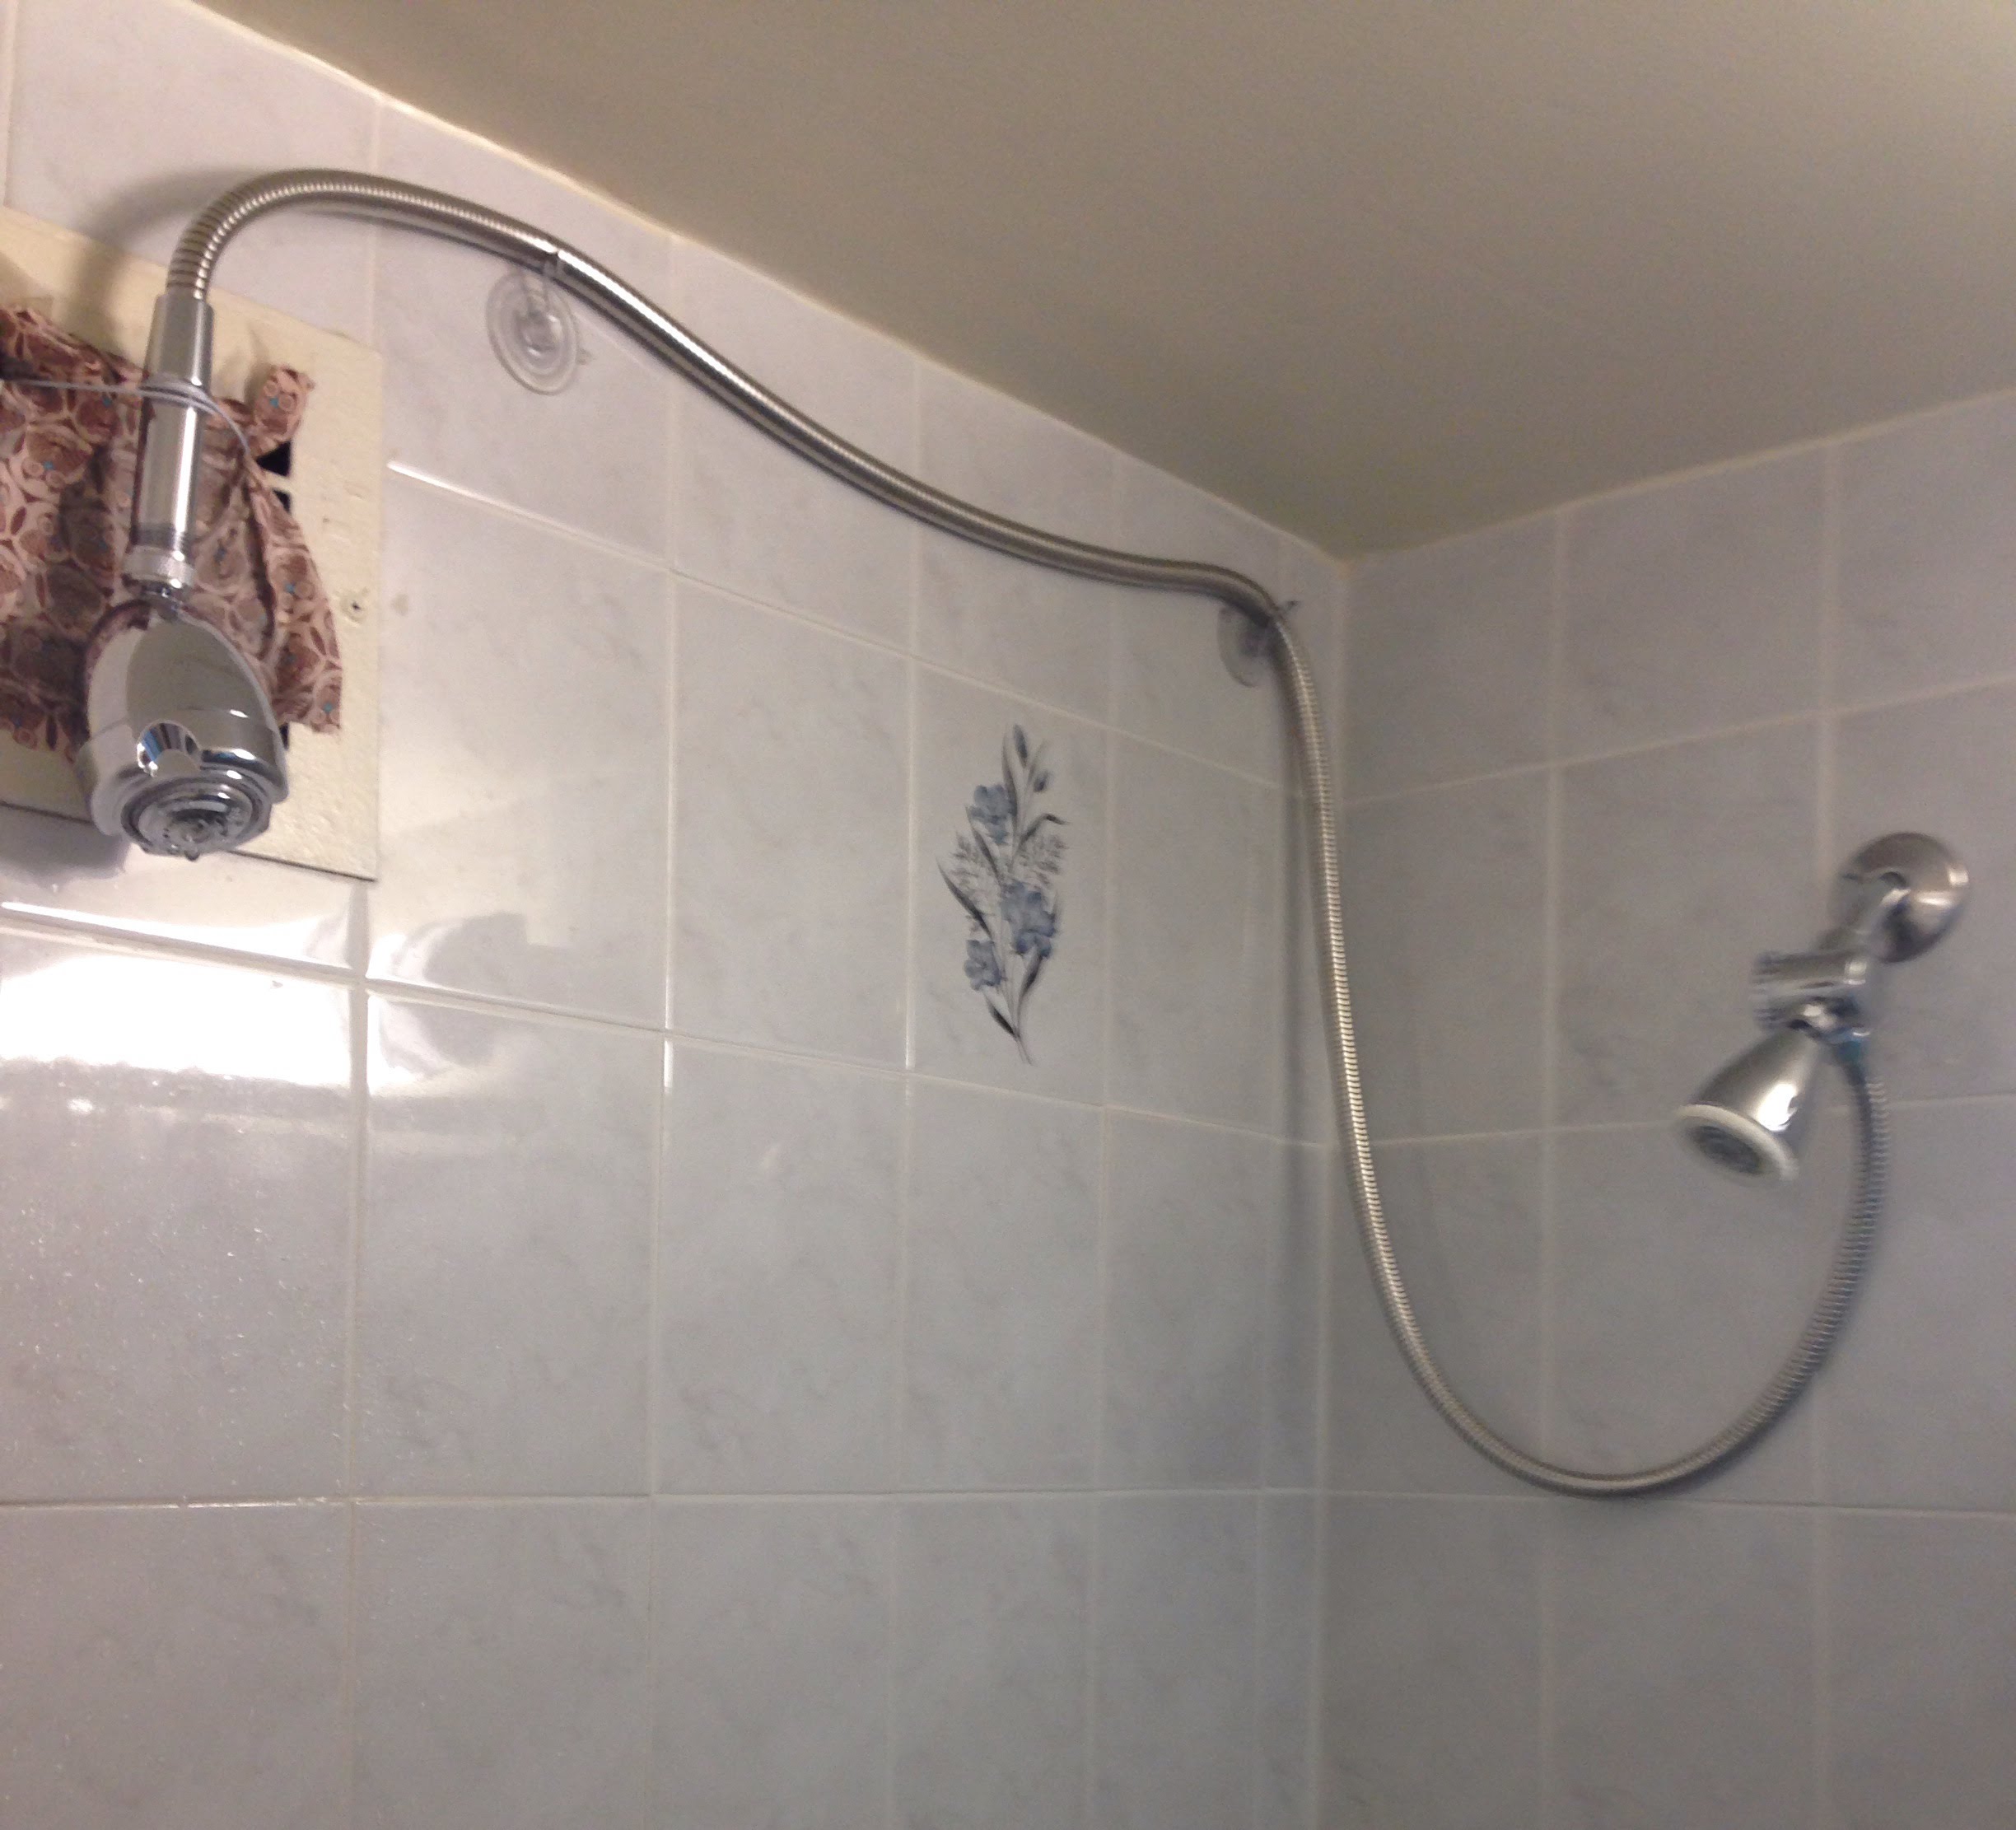
Here’s what ours looks like:
This took me about 30 minutes to do and I don’t have much plumbing experience. I can’t see it taking you longer than an hour or two even if you’ve never touched any of this stuff.
Buy these parts:
- Short pipe
- 3-Way Valve - The title says chrome but it’s plastic. Oh well.
- Hose - This works just fine although one end doesn’t have a great place to grab while tightening. If for whatever reason you wind up with a different hose and it works well, please email me a link so I can update this.
- Seal Tape
- Shower Head - This one uses very little water but they’ve gotten so clever about designing these that it feels really nice!
- Suction Cup Hooks - I had some other suction cups around so I didn’t use exactly these. If you use them, please email me and tell me how well they work!
- Permanent or Suction Shower Head Wall Mount - I rigged up our shower head to hang from a vent using a wire coat hanger but you may want to try something like this. This one doesn’t have great reviews. If you find a better one, please email me so I can update this guide!
Make sure you’ve got all the parts before starting to install them :-) They probably won’t all come in one box.
Unscrew your shower head from the pipe that comes out of the wall. You’ll probably need a wrench or pliers, but you might get lucky and be able to do it by hand.
If there’s some white stuff in the threads on the pipe coming out of the wall, that’s left over tape that seals the connection. Pull it out if you can and put a new layer of tape (item 4) on the threads. This tape doesn’t have a sticky side so it doesn’t matter which way you put it on. Just go around a little more than once: enough to overlap itself so it stays. If you go around a few times, it might be too thick and you’ll have trouble screwing the next part on.
Screw the 3 way valve (item 2) onto the threads and hand tighten. You probably want the extra output to face down or almost down so hopefully it’ll be pretty tight in that position. Don’t over-tighten it or the plastic may crack. If it’s too loose it’s ok- it’ll just drip a little when you turn on the shower and you’ll know you need to tighten it more or redo the tape on the threads.
Attach your old shower head to the output of the 3 way value that points in the correct direction. Put tape on the threads like before. You may be able to get away with hand tightening. If it leaks, you can always tighten it more later with a wrench.
Screw either end of the hose (item 3) onto the other output from the 3 way valve. Use tape on the threads. Make sure to put one of the two little rubber disks that comes with the hose inside the screw part on the end so it makes a good seal. As usual, you can try hand tightening if you don’t have a wrench handy and see if it’s good enough.
Put tape on both ends of the short length of pipe (item 1). Screw one end into the hose (don’t forget the second rubber disk in there) and the other end into the shower head. You can tighten both connections by holding the shower head in one hand and the hose end in the other; you don’t actually have to hold the little pipe.
Turn on your shower and test it! There’s a knob on the side of the 3 way valve which lets you chose where the water will come out. If there are any leaks, tighten those connections some more. You might need a wrench for this. The only one to be careful of over tightening is the 3 way valve because it’s plastic. If a leak doesn’t go away, unscrew the connection, take off the old tape as best you can, and put a new layer or two around the threads.
Mount the second shower head using the wall mount if you bought it, or with a coat hanger, string, or whatever works.
Put up the two suction cups to hold the hose against the wall of the shower. Wipe the shower wall with a damp cloth where you’re going to put the suction cups. Cleaning away dirt and adding a bit of dampness will make them stick better. If the little metal hooks are too small to hold the hose, bend them open a bit (pliers or a wrench would be helpful) or use a twistie or string to tie the hose to the hook.
Enjoy!